Table of Contents▼
In This Article
- What Does a DJ Do?
- Why Start With a Controller
- DJ Setup Breakdown
- The Basic Setup
- Navigation and Song Overview
- The Deck Section: 5 Essential Functions
- The Mixer Section
- Your First Transition (Crossfader Method)
- Continuing the Mix
- Pro DJ Transition Technique (Volume Fader + EQ)
- Beat Grid Settings
- Rekordbox
- Serato DJ
- Smooth Crossfader Settings
- Conclusion
This guide breaks down DJing into its simplest components — no prior knowledge required. You'll learn:
- What a DJ actually does: Playing and mixing music for the crowd
- The Gear: Why a $250 controller is better for beginners than a $5,000 club setup
- The 5 Essential Functions: Play, Cue, Tempo Fader, Jog Wheels, and Crossfader
- Your First Transition: A step-by-step plan to mix two songs together
- Pro Technique: Mixing with volume faders and EQ for smoother blends
In this post, I'm going to guide you through how to DJ for complete beginners. If you already know how to DJ and just want to see what this post is about, feel free to scroll to any of the sections — you might still learn something new.
If you're a complete beginner who doesn't know anything about DJing, welcome. I'll start this guide with a brief overview of what a DJ is, then an overview of the equipment, followed by two of the easiest and least controversial methods of mixing.
What Does a DJ Do?
The overall objective of a DJ is to play and mix music for the crowd. When you see a DJ performing, they are technically mixing two songs together. The tools that enable this to happen are typically 2 DJ decks and a mixer.
However, those club-standard DJ tools you see at parties cost over $5,000. And to be completely honest with you — if you're starting out as a beginner DJ, please don't buy any of this.
Why Start With a Controller
| Option | Cost | Best For |
|---|---|---|
| Club gear (CDJs + Mixer) | $5,000+ | Professional club DJs |
| Beginner DJ controller | ~$250 | Complete beginners |
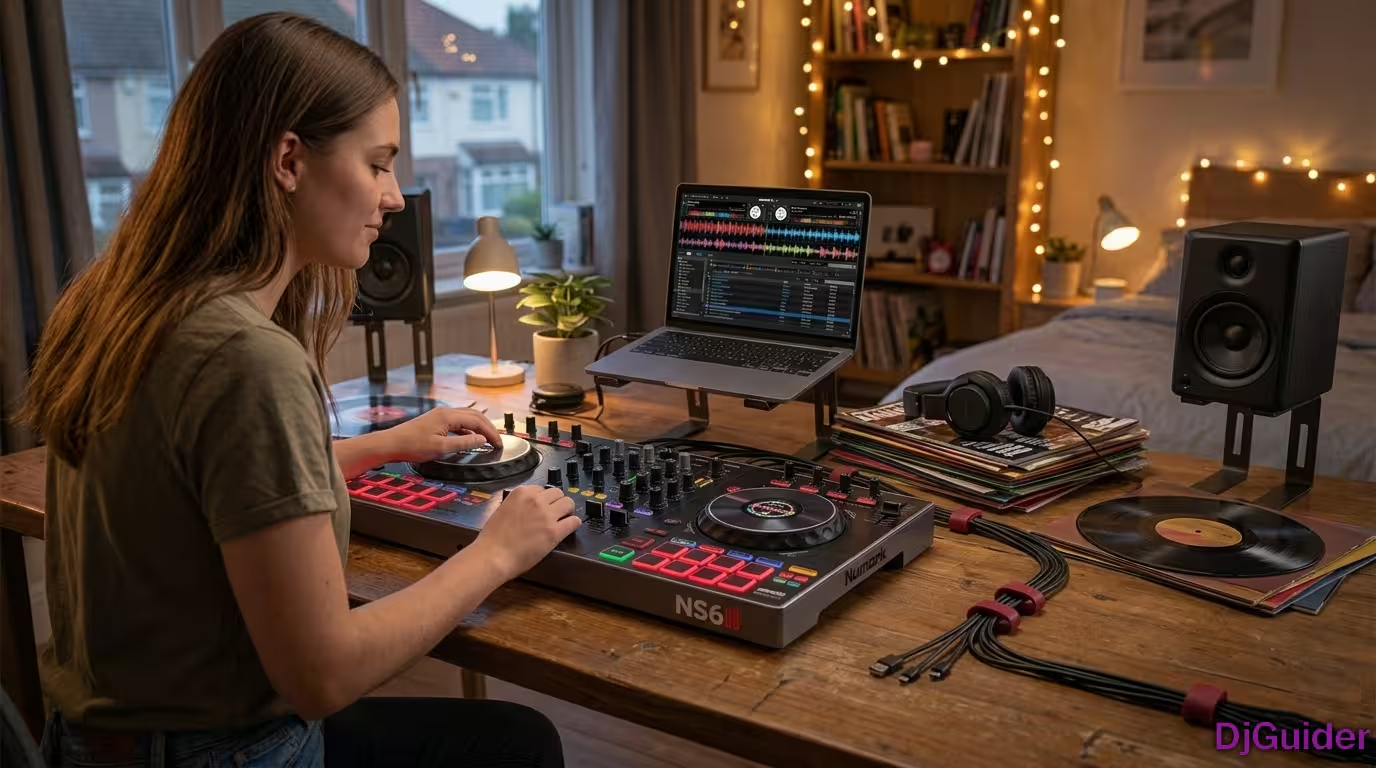
You'll be much better off buying a DJ controller like the DDJ-SB3, DDJ-400, S2-MK3, or Impulse 300 that costs around $250 and below. All DJ equipment — every single model — essentially does the same thing: play and mix music.
The reason these cheaper models are affordable is that they utilize DJ software which requires a computer. The software does the heavy lifting, and the controller gives you a tactile, physical way to control it — that's why they're called DJ controllers.
Don't make the mistake of buying professional gear before you've learned the basics. A $250 controller and a laptop are all you need to learn 90% of the skills required to be a professional DJ.
DJ Setup Breakdown
Let's first break down the equipment, then teach you how to DJ and mix with it.
The Basic Setup
- Plug in your DJ controller and open up your DJ software
- White and red outputs on the back send the master volume to your speakers
- Headphone input allows you to hear what you're doing privately while prepping songs
You might wonder: what's the point of connecting headphones when your speakers already output sound? Because headphones give you the ability to pre-hear what you're doing when preparing a song to mix for the crowd. Not all songs are the same — some are faster, some slower, some are in different keys, and some have different structures. Your headphones let you verify everything before the crowd hears it.
Navigation and Song Overview
| Step | Action |
|---|---|
| 1 | Use the browser knob to browse your songs |
| 2 | Click the left Load button to bring a song to Deck 1 |
| 3 | Click the right Load button to bring a song to Deck 2 |
Your software automatically determines the BPM (beats per minute) and creates a beat grid — a series of markers that point to the location of beats within the track. Most DJ-friendly tracks have an intro and outro section; these will be the parts where we do our mixing.
The Deck Section: 5 Essential Functions
Both decks do the same thing, which is why they look alike. Here are the four most important functions:
| Function | What It Does |
|---|---|
| Play/Pause (Green) | Toggles between playing and pausing your track |
| Cue (Orange) | Sets and returns to the first detected beat — allows you to quickly restart if you press play too early |
| Tempo Fader | Controls the BPM of your song. Drag up = slower. Drag down = faster. Middle = neutral (zero) |
| Jog Wheels | Temporarily speed up (push forward) or slow down (pull back) your song to align beats |
| Other functions | Tools you'll use to beatmatch songs that aren't in the same BPM |
The Mixer Section
This is the area in charge of the section, blend, and mix of your songs.
| Control | Function |
|---|---|
| Volume Faders | Controls the volume of each deck (Deck 1 = left, Deck 2 = right) |
| Crossfader | Controls both volumes simultaneously. Left = Deck 1 loudest. Right = Deck 2 loudest. This is the easiest way to mix |
| EQ Knobs (High, Mid, Low) | Controls the frequencies. Low = bass. Mid = vocals/instruments. High = treble. Keep at 12 o'clock when starting out |
| Headphone Cue | Allows you to pre-hear what's happening on each deck regardless of the master volume |
To keep things simple at first: think of the EQ knobs as three parts of the volume. The Low knob controls bass frequencies. The Mid knob controls vocal-like frequencies. The High knob controls treble frequencies. When starting out, keep these at 12 o'clock and train your ears to blend using the volume faders first.
Your First Transition (Crossfader Method)
The plan: mix the next song at the outro section of the current song.
- Set up: Crossfader to the left (Deck 1), volume faders all the way up, tempo faders in the middle, EQ at 12 o'clock
- Load and play your first song. Wait for its outro section
- Check the BPM of the first song (let's say 124 BPM)
- Load song 2 to Deck 2. Adjust its BPM to match song 1 by using the tempo fader
- Wait for the outro of song 1
- Play song 2 at the exact moment the outro starts. Make sure the beat grids are aligned
- Use jog wheels to correct any mistiming
- Drag the crossfader slowly from left to right to transition fully to song 2
The most important part of this process is playing the next song at the exact moment the current song hits its outro. Your timing may be off at first — that's normal. Use your jog wheels to bring the beat grids back together. Practice with the headphone cue function to train your ears.
Continuing the Mix
- Load the next song to the free deck
- Match its BPM with the currently playing song
- Wait for the outro section
- Play the next song, correct with jog wheels if needed
- Drag the crossfader to complete the transition
- Repeat!
Pro DJ Transition Technique (Volume Fader + EQ)
Once you've mastered the crossfader, try this method that professional DJs prefer for more control.
| Step | Action |
|---|---|
| 1 | Deck 1 volume up, crossfader centered, Deck 2 volume down, tempo faders middle, EQ at 12 o'clock |
| 2 | Play song 1 on Deck 1, wait for outro |
| 3 | Load song 2 on Deck 2, match its BPM |
| 4 | At the outro, play song 2 and align the beat grids |
| 5 | Slowly lower the Low EQ of song 1 while slowly raising the volume of song 2 |
| 6 | Bring Deck 1's volume down as Deck 2's volume goes up |
This style of mixing is how I personally blend music all the time. It provides smoother, cleaner transitions than the crossfader method.
This style of EQ blending gives you far more control over your mix. Once you're comfortable, you can start experimenting with the Mid and High knobs to create truly seamless blends. Practice heavily with your headphone cue functions to train your ears.
Beat Grid Settings
If you're having trouble mixing songs together, the issue might be your beat grids. Here's how to fix them:
Rekordbox
- Click Grid Edit
- Use the buttons on either side to align the beat grid
- Make sure the grid starts exactly where the beat starts
Serato DJ
- Click Edit Grid
- Click Clear
- Position your song to the exact section where the beat starts
- Click Set and Save
Smooth Crossfader Settings
| Software | Path | Setting |
|---|---|---|
| Rekordbox | Gear icon > Controller > Mixer | Crossfader curve to 12 o'clock, EQ to Isolator |
| Serato DJ | Gear icon > Mixer | Knob near crossfader area to 12 o'clock |
Conclusion
DJing is a skill that anyone can learn with patience and practice. Start with the crossfader technique to get comfortable with the flow of mixing, then graduate to the volume fader and EQ method for more professional control.
| Skill Level | Technique |
|---|---|
| Beginner | Crossfader transitions with BPM matching |
| Intermediate | Volume fader blending with EQ control |
| Advanced | Full EQ mixing, harmonic mixing, creative effects |
Remember: every professional DJ started exactly where you are now. Keep practicing, keep playing, and most importantly — have fun.