Table of Contents▼
In This Article
- What Beat Matching Actually Is and Why It Matters
- Why You Always Adjust the Second Track, Not the First
- Step One: Getting Into Rhythm With the Cue Button
- Step Two: Fine-Tuning Your Beat Match With the Jog Wheel
- The DJ Gear Used in This Guide
- DDJ FLX4 (Beginner Controller)
- CDJ-3000s and DJM-A9 (Pro Club Setup)
- Buying DJ Gear: Why After-Sale Service Matters
- How Beat Matching Works in a Real DJ Scenario
- Why DJs Don't Use Spotify or YouTube Tracks
- The Full Pro Beat Matching Workflow Step by Step
- How to Train Your Ears and Hands for Beat Matching
- The Two Biggest Mistakes DJs Make When Using Sync
- How to Fix Beat Grids on Rekordbox
- How to Fix Beat Grids on Serato DJ
- How to Use Sync Correctly Like a Pro
- Beat Matching Summary: All Three Steps
What Beat Matching Actually Is and Why It Matters
Beat matching is the foundation of DJing — and getting it wrong is every DJ's first nightmare.
When you load a track, pay attention to the BPM number. You can think of BPM as your track speed. When your second song has a different BPM from the first, the tracks will clash.
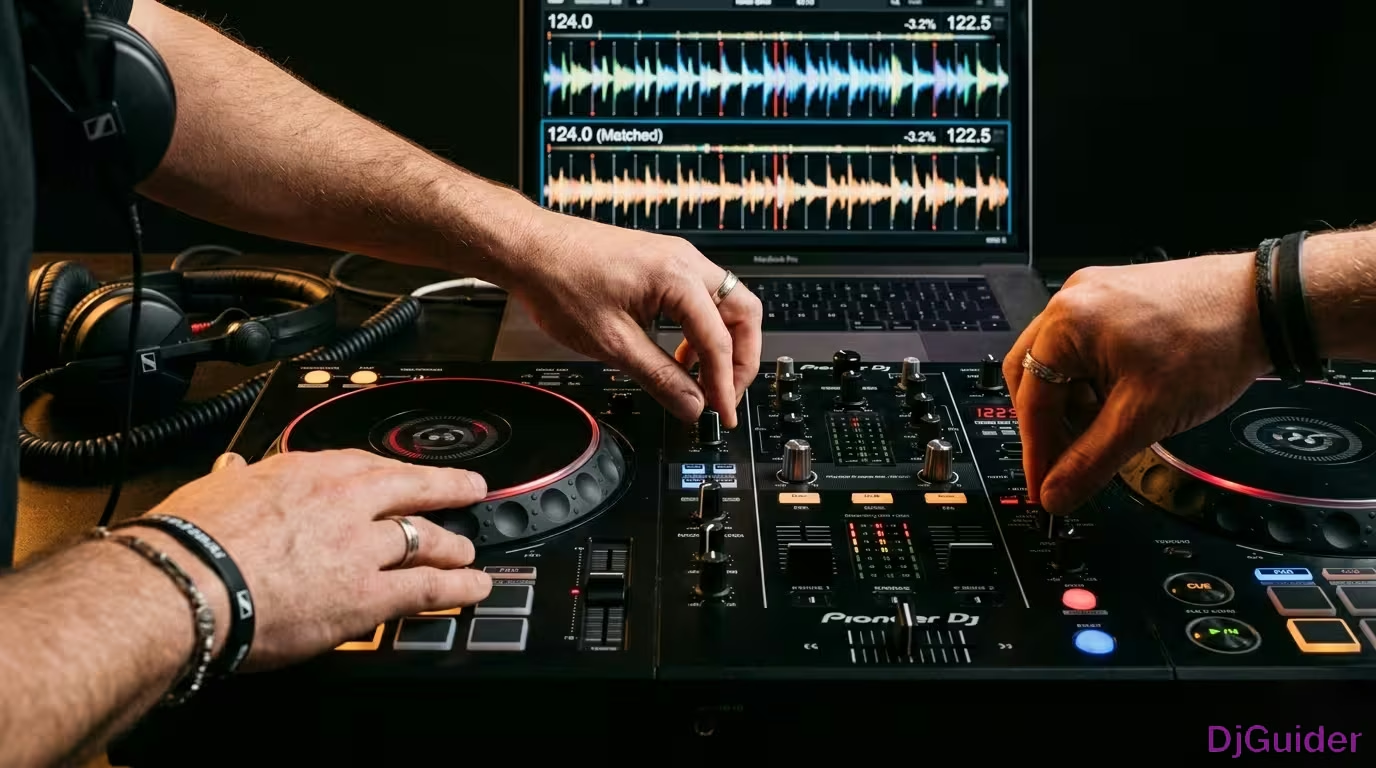
The first step to beat matching is to ensure both tracks' BPMs are the same. You use the tempo fader to adjust each track's BPM.
Why You Always Adjust the Second Track, Not the First
Adjusting the wrong track can kill the dancefloor vibe mid-mix.
When your current song is playing and people are dancing, adjusting its BPM can affect the dancefloor vibe. Affecting a track that hasn't been introduced yet is always the better move.
Step One: Getting Into Rhythm With the Cue Button
Just matching BPMs isn't enough — timing is everything, and even pros get this wrong.
Matching both tracks' BPMs does not mean you'll get your timing right. If you rush things, this is what usually happens — even for pros — so they often skip this step.
The cue button allows you to start a track temporarily. What pros usually do is tap the cue button right before playing their next track in, to get into rhythm with the current track.
The goal is to cue the downbeat of the next track precisely when the downbeat of the current track lands. Once you're feeling prepared and in sync with the rhythm, go ahead and play the next track.
If you still get your timing massively wrong, simply press the cue button and try again.
Step Two: Fine-Tuning Your Beat Match With the Jog Wheel
Perfectly aligned tracks won't happen every time — that's exactly what jog wheels are for.
Jog wheels function to temporarily speed up or slow down a song. After cueing and playing your track, the next and final step is to fine-tune your beat match using the jog wheel.
When using CDJs and playing with different genres and BPMs, the approach remains exactly the same.
The DJ Gear Used in This Guide
Here's a breakdown of the controller and CDJ setup used throughout this walkthrough.
DDJ FLX4 (Beginner Controller)
The DDJ FLX4 is a favourite beginner DJ controller and the perfect step into getting into the world of DJing. 99% of everything you'll ever need to mix and DJ is here. The layout is perfect as it mimics the club standard DJ gear, which includes CDJs and DJM mixers.
CDJ-3000s and DJM-A9 (Pro Club Setup)
The CDJ-3000s and DJM-A9 mixer are the flagship DJ gear from Pioneer DJ. This is the gear you see all pro DJs use in clubs and festivals. They're stupidly expensive though, so if you're starting out, the FLX4 is the recommendation. But if you simply want the best money can buy, this DJ set is it.
Buying DJ Gear: Why After-Sale Service Matters
If you decide to buy and invest in DJ gear, you have to consider after-sale service. When things go wrong — which eventually will — you'll want the situation to be fixed as soon as possible with no problems at all.
| Gear | Best For | Notes |
|---|---|---|
| DDJ FLX4 | Beginners | Mimics club layout, affordable |
| CDJ-3000s + DJM-A9 | Professionals | Club and festival standard, expensive |
How Beat Matching Works in a Real DJ Scenario
The audience can't hear what you're practising in your headphones — that's the whole point of headphone cueing.
Deck one is playing with its volume all the way up while deck two is playing with its volume down. The audience hears only deck one. But if you press deck two's headphone cue button, you hear deck two in your headphones.
So if you're beat matching deck two, you'll be hearing the cued track privately while the audience hears only what's going out on deck one.
Why DJs Don't Use Spotify or YouTube Tracks
The tracks you hear on streaming platforms are actually the wrong format for DJing.
DJs don't use the same songs you hear on Spotify or YouTube because those types of tracks are radio edits and they just start immediately. That makes beat matching and mixing extremely difficult.
The ideal type of track is one that has an extended beat intro and an extended beat outro. Those extra beats at the start and end of the song give you enough time to beat match and mix.
We refer to those types of tracks as extended edits. These extended edits are only available for download from DJ record pools.
You can think of DJ record pools as huge libraries of music of all genres where DJs can download all the songs they could ever need. These high-quality tracks can range from radio edits to remixes, instrumentals, acapellas, and a whole lot more.
The Full Pro Beat Matching Workflow Step by Step
Here is exactly what the pros do when they beat match and mix in a real live setting.
With the current song playing, load your next track in and bring its volume all the way down. Using the tempo fader, adjust the next track's BPM to match the current track's.
Press the headphone cue button so that you can listen to your next track even if its volume is down. Get into rhythm by repeatedly pressing the next track's cue button and matching its phase to the current track's.
Once ready, play your next track in while the next track's volume fader is still down. Perfect your beat match by jog-wheeling the track.
Once you're satisfied with the beat match, bring the next track's volume up. Mix by lowering the low EQ of the current song while at the same time increasing the volume of the next song. They do this to create sonic balance.
How to Train Your Ears and Hands for Beat Matching
The goal of this exercise is to identify and hear the phasing sound effect — and you can only hear it by perfectly beat matching two duplicate tracks.
Hearing that phasing effect is your signal that you've achieved perfect beat matching. First, load your practice track and play deck one back. Get into rhythm using the cue button, then when you're ready, play your next track and jog-wheel it.
If you feel like you messed up, don't worry — just press the cue button and try again.
If you want to challenge yourself, purposely mis-time playing your next track and then figure out where to jog-wheel it. Because no matter how bad your timing is, as long as your tracks are in the same BPM, you can always fix things up by jog-wheeling.
The toughest challenge is when you don't know the BPM of the tracks you're using. If you really want to master beat matching, try doing the exercise without knowing the BPM.
The Two Biggest Mistakes DJs Make When Using Sync
Not analysing tracks and not checking beat grids are the two mistakes that break sync every time.
An unanalysed track will show a misaligned beat grid — the white lines are supposed to align with the drum beat, but sometimes DJ software gets it wrong and places a beat grid at odd sections.
If you have tracks with misaligned beat grids, you have to manually beat-grid them yourself. Luckily, this is very easy to do for 99% of tracks.
How to Fix Beat Grids on Rekordbox
On Rekordbox DJ, with your track loaded, first zoom in on the track. Then drag the downbeat to the red line — you want that red line to be right before the beat starts. Then go to that section and press the button. Your track is now beat-gridded. Make sure to test things out and see if those white lines align with the drum beat to confirm everything is correct.
How to Fix Beat Grids on Serato DJ
On Serato DJ, with your track loaded, press Edit Grid. Then drag the downbeat to the white line. Press Clear, then press Set, then press Save.
How to Use Sync Correctly Like a Pro
You need to know what's being synced with what — otherwise sync will cause more problems than it solves.
The first setting is BPM sync. This means that when you press the sync button on a deck, the track's BPM will synchronise with the master deck's BPM. To set a deck as master on the FLX4, simply hold the sync button. All other decks will then follow that master deck's tempo.
The second setting is beat sync. When you enable beat sync on a deck, its BPM will follow the master deck's BPM and the track will align with the master deck's track as well.
| Sync Mode | What It Does | Best Used When |
|---|---|---|
| BPM Sync | Matches tempo only | You want manual phase control |
| Beat Sync | Matches tempo and phase | You want full automatic alignment |
Beat Matching Summary: All Three Steps
| Step | Action | Tool Used |
|---|---|---|
| 1 | Match both tracks' BPMs | Tempo fader |
| 2 | Align the downbeat | Cue button |
| 3 | Fine-tune timing | Jog wheel |
Important: Just because you know how to beat match doesn't mean you're a complete DJ. You also need to know the best places to mix — because you can't just mix anywhere. Songs have different sections and phrases, and knowing where to mix is crucial for ensuring dancefloor success.